
Looking to make your holiday table more festive this year? I've got the perfect DIY project for you. It will take some patience but you can do this! This is intended to be fun, so try not to get frustrated!

What You'll Need
- Water
- Paintbrush (I used sizes 0-2)
- Watercolor (I used this watercolor set)
- Place Cards (I used these but you can use any thick cardstock)
Things to keep in mind with supplies, I had these on hand and did not go out to buy any. If you need anything, please feel free to shop at Walmart, Target, Michaels and grab some watercolor paints + brushes there! You do not need to buy these exact supplies to do this project :) If you do choose, to order through these links, I do receive a small commission but again, start small!
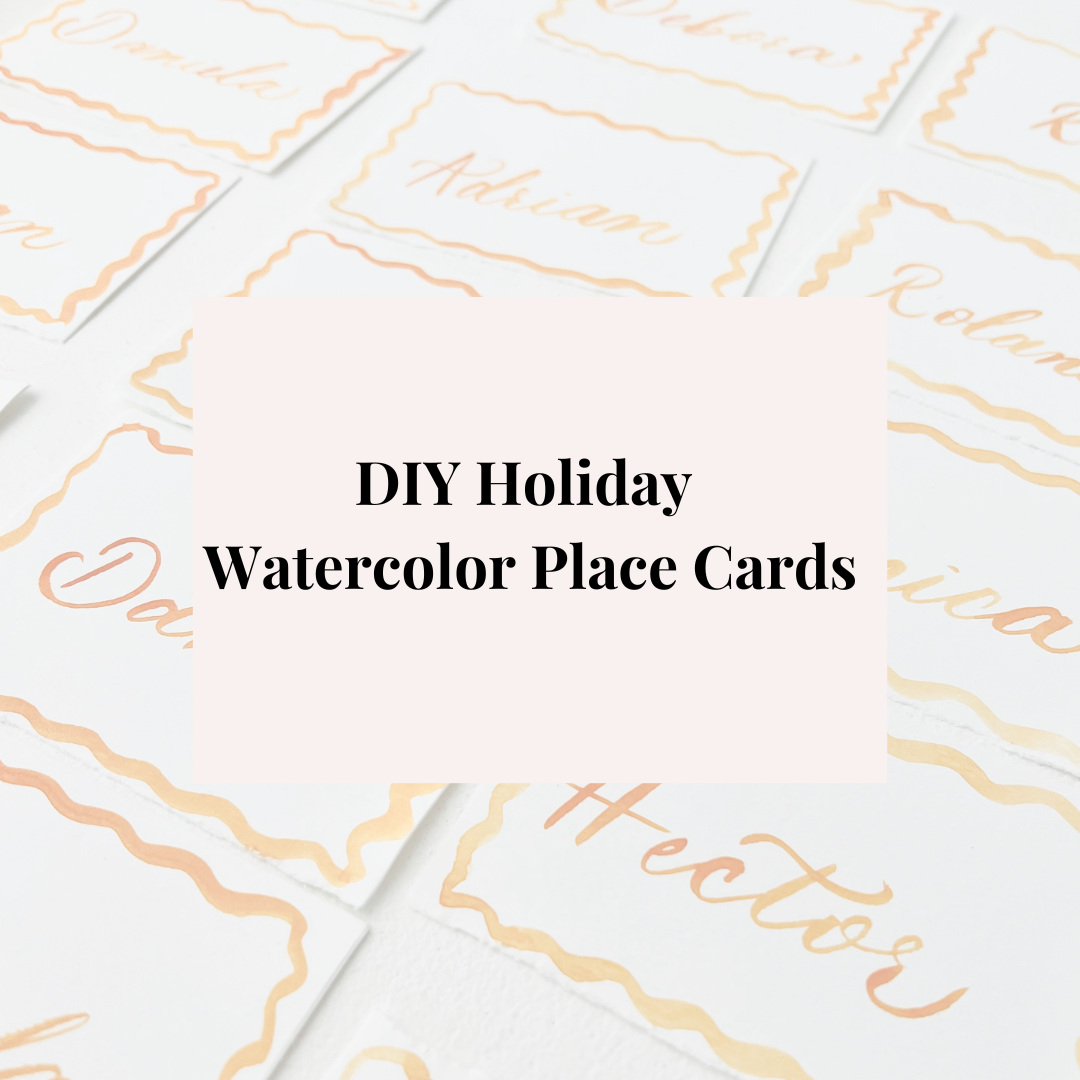
Now let's get to the fun stuff...pick your color! I went with orange because I wanted it to be Fall-y.
Wet Your Brush
Dab some water on your watercolor brush and begin to put your wet brush on the watercolor paint of your choice. Get it wet enough that it gets on your brush. On a sample paper, begin to motion wave / squiggly lines to get the consistency you like. Once you are comfortable with this, you can begin to paint the borders of your place cards.
Paint Your Borders
When you get to this point, make sure you have enough paint on your brush. As you paint along the edges of your place cards, check the consistency throughout. Watercolor is imperfect (personal reason why I love it) so the changes in shade consistency will happen. Feel free to add more paint to your brush when it really begins to disappear!
I would batch paint your borders so that you can focus on the brush lettering afterwards.

Let is dry for about 5-10 minutes.

Now let's get to brush lettering!!
Getting comfortable with your brush to write may take a little bit of time but start slowly! You can write this in any style of your choice, but as someone who does calligraphy, I did this in my calligraphy style. You can grab your Free Faux Calligraphy Guide here. This will help you understand the thick & thin strokes in calligraphy (upstroke is thin - very little pressure, downstroke is thick aka apply more pressure)
Begin to add more paint to your brush at this point as you practice your letters. If you want to do more of a calligraphy/script style, keep in mind your strokes. It is a little challenging to perfect the thin and thick with a brush but lightening your pressure as you move up will help achieve that look. This is not a HARD rule, this is a guidance.
Explore what you want your place cards to look like. If you need to have a rough outline of your lettering use a pencil for the support. Keep your writing very light so it doesn't pop out in your lettering.
Watercolor brush lettering is fun and the imperfect-ness is very charming - it gives that handmade texture that many people really love.
Once you are done with your lettering, let it sit to dry until you need them for your next dinner party!
Hope you loved this little tutorial!
-Jo
p.s. If you had fun doing this but still prefer to outsource any future place cards needs, feel free to get in touch at Hello@JJPaperieCo.com.